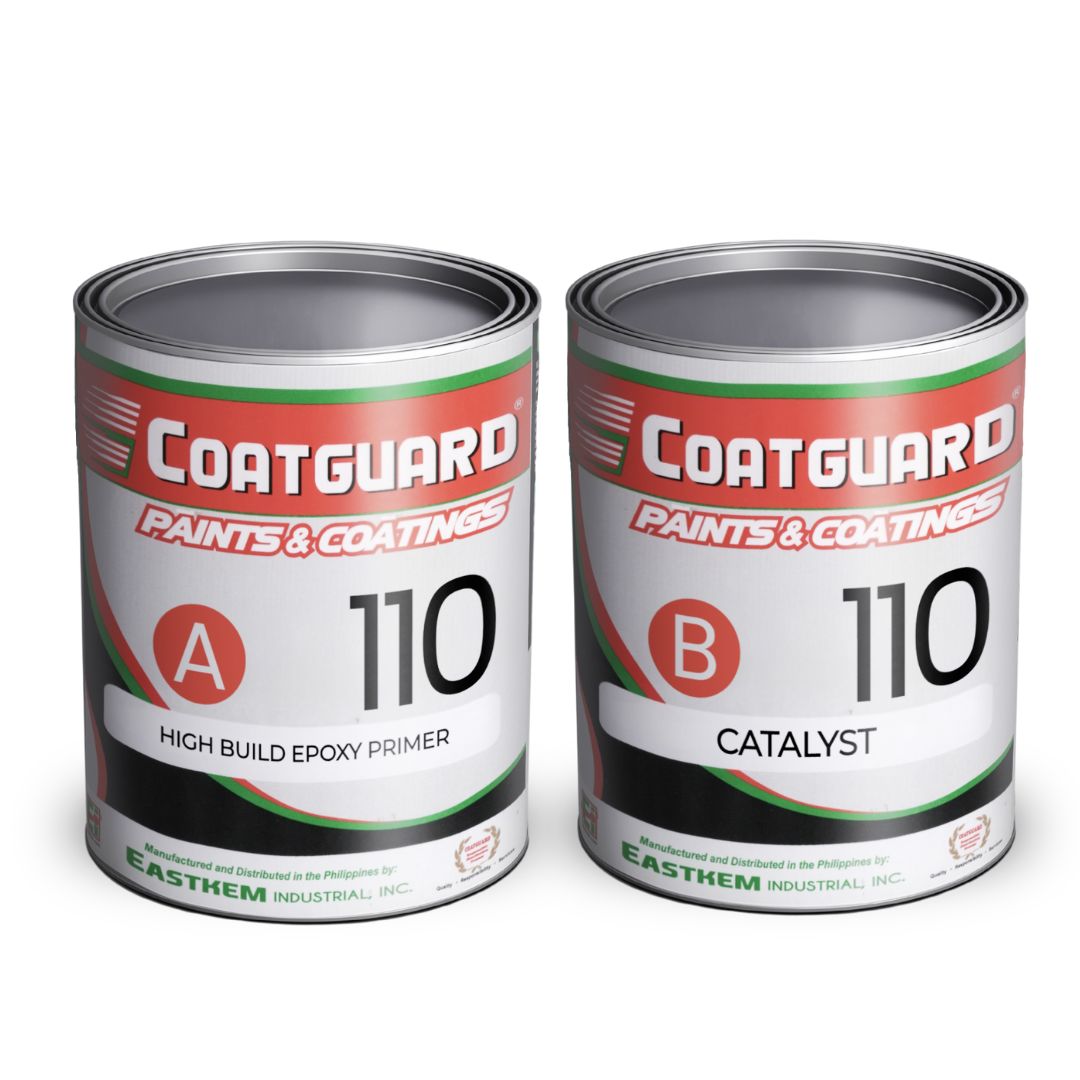
Product Overview
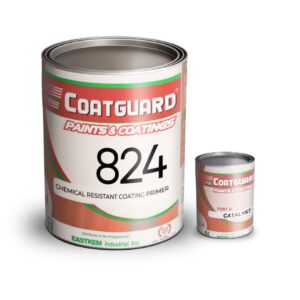
High Build Epoxy Primer is a high-solids, two-component epoxy polyamide primer designed for industrial and commercial use. Engineered for excellent adhesion and chemical resistance, it provides a tough, protective base layer for flooring, walls, metals, and tank linings.
Key Features:
-
High-build application in a single coat
-
Excellent adhesion on concrete, steel, and masonry
-
Superior chemical and abrasion resistance
-
Ideal for aggressive environments (factories, warehouses, refineries)
-
Compatible with a wide range of epoxy and polyurethane topcoats
Recommended For:
-
Warehouse and manufacturing floors
-
Food and beverage processing areas
-
Metal tanks, pipelines, and structural steel
-
Concrete walls and interior plant surfaces